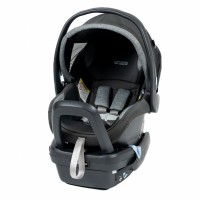
Our Verdict
Our Analysis and Test Results
In 1949, Peg Perego launched a baby carriage created by Giuseppe Perego. The founder continued the company's growth through the 1960s with various strollers and an adjustable high chair. Peg Perego strives to design and create innovative gear, including options in our high chairs review and a variety of car seats.
Crash Testing
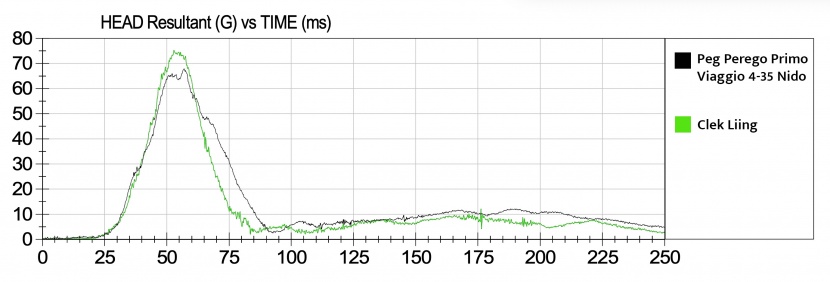
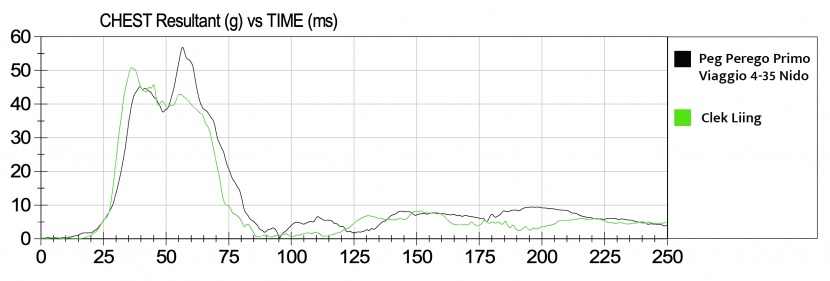
The Nido performed well in crash testing, and our analysis of sensor results gave it a respectable result. This seat offered lower (lower is better) sensor G forces than many of the head and chest sensor competition.
This seat has a lower sensor result for the HIC sensor, which is better than many competitors. The chest clip result is also low and better than the average. While all of the seats in this review meet federal guidelines and are considered safe, we ran a faster test on a more modern sled to see which options excelled in a somewhat “hotter” test. When the sensor results are combined and analyzed, it has one of the better results in the review, making it one that likely offers a higher margin of protection than the average seat.
Ease of Installation LATCH
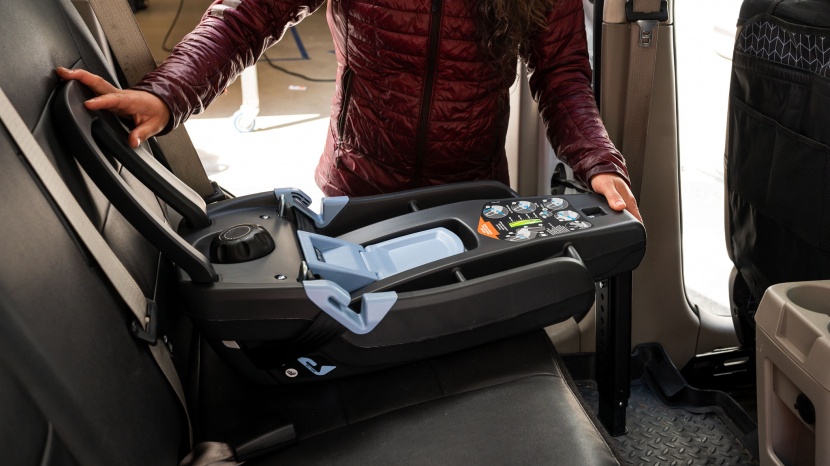
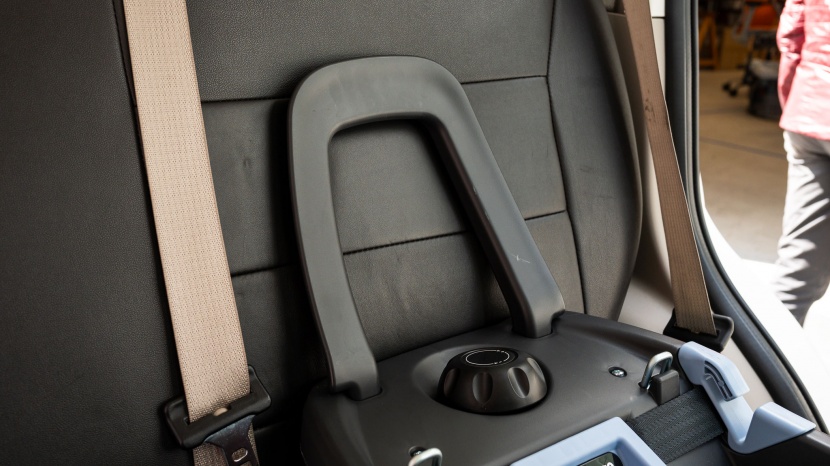
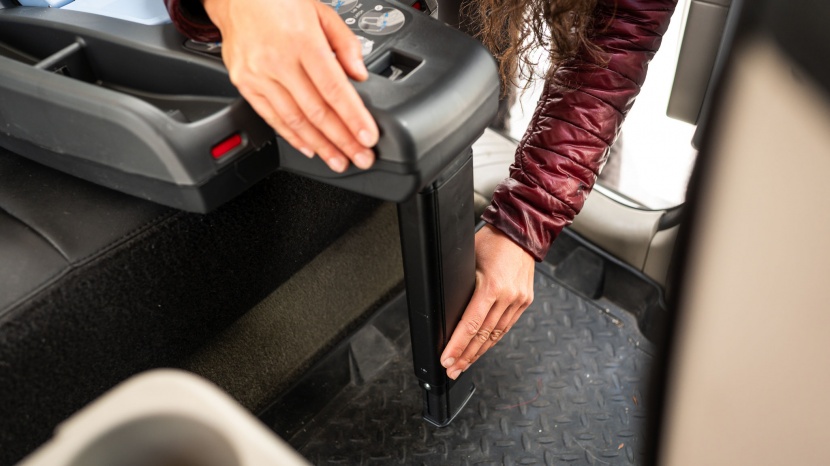
LATCH installation of the Nido is the second easiest method for this Peg Perego seat. However, it wasn't easy compared to other seats. It has an anti-rebound bar and load leg.
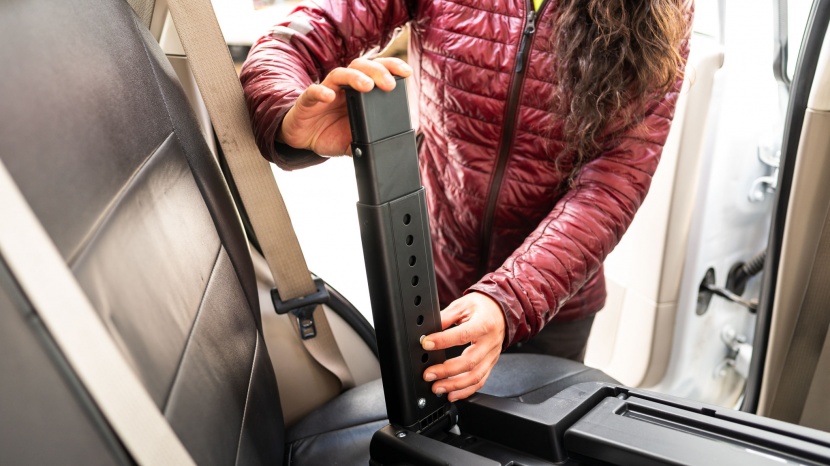
The installation experience includes a sub-par lock-off and a wonky load leg. The load leg was so bothersome and strangely designed that we wondered if ours was broken. The design requires pressing a button while you pull out the leg, and doesn't slide out on its own or provide a color change so you know you did it right.
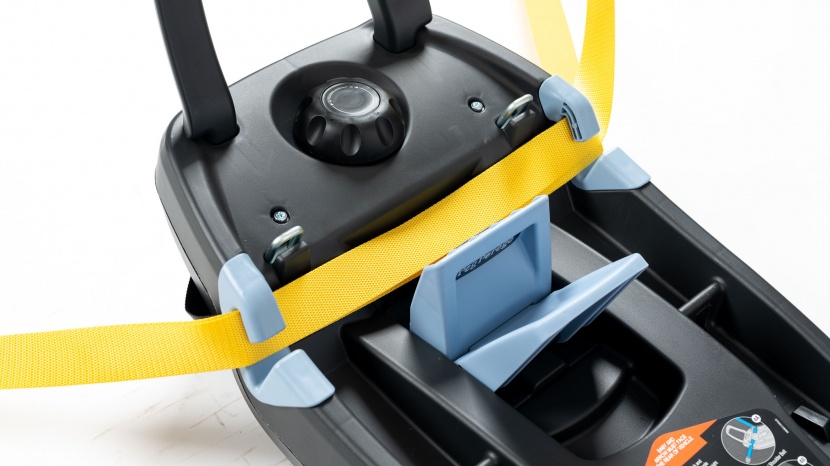
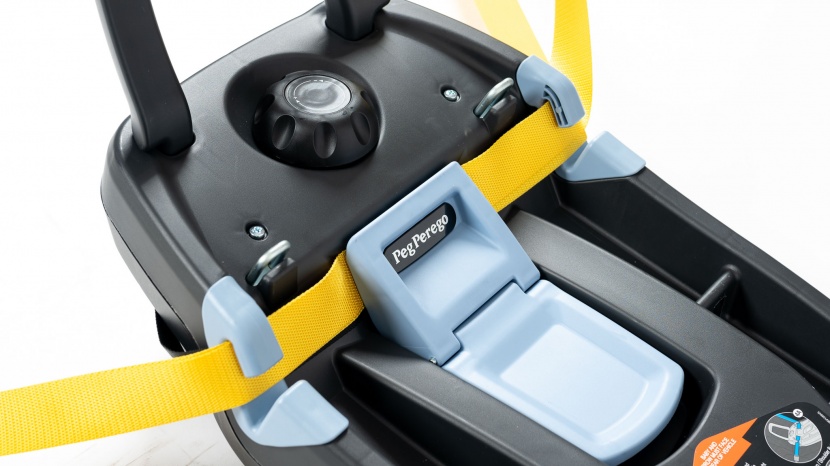
The LATCH connectors push in easily enough; you can hear the click when they reach the anchor point. The strap connecting the two goes across the base much like a vehicle belt, and the lock-off helps hold it all in place. Tightening the strap was hard because it was on the closest side during installation. Also, our lock-off wouldn't stay locked and offered no tensioning.
Getting it tight was challenging because the anti-rebound bar kept shifting while tightening. Our first attempt was too wobbly. Overall, tightening and stability were better in the small SUV than in the sedan, perhaps due to the padding and seat contouring.
Leveling to get the right angle on the base took time and precision, thanks to the turning knob and the anti-rebound bar. We had to keep making minor adjustments to get it all dialed in.
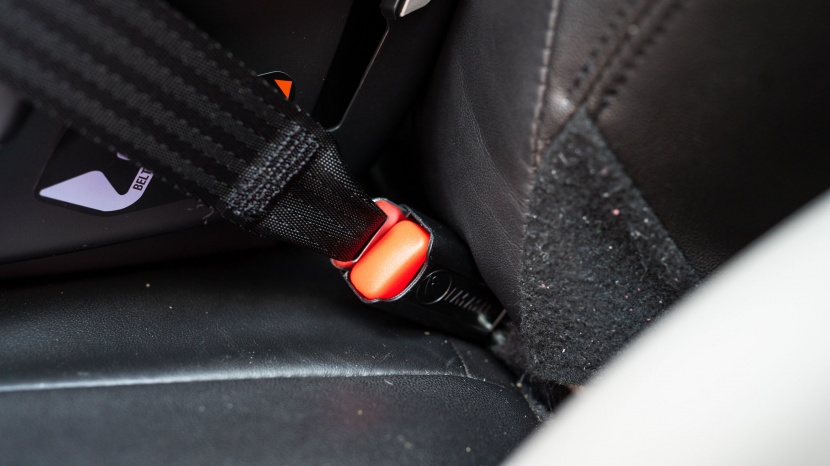
Removing the LATCH connectors requires pressing a small red button. It isn't as easy to use as some, but it is better than the clip-style connectors.
Recline Adjustment
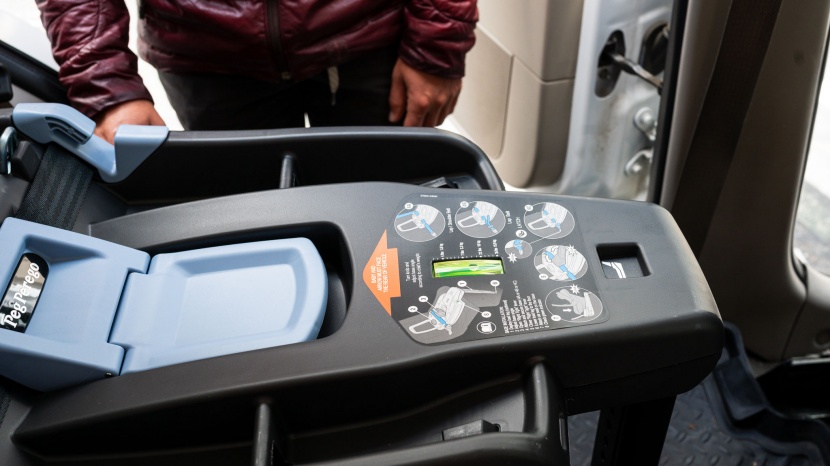
The Nido has an infinite number of potential level adjustments. The level indicator is a bubble style that settles quickly and is easy to read. The recline is a knob-twisting adjustment that is easy but requires repeated turning. Depending on how much adjustment you need, it takes forever.
Ease of Installation - Belt
The most complicated method for installing this seat is using the vehicle belt. It has a built-in lock-off but no tensioner.
The vehicle belt goes across the foot end of the base. The pathway is color-coded, with open slots and no holes or obstacles to worry about. The lock-off isn't our favorite, and while it is easy to use, it didn't seem to help; we could pull on the belt, and it popped right open. It was nice but less functional than competitors. We really struggled to get the vehicle belt tight. We had to pull the belt and engage the car retractor before using the lock-off to get it tight enough. This lock-off process hurt its score because we loved the simplicity of the belt pathway design.
It didn't feel as stable as other installation methods or compared to other seats. The load leg isn't straightforward, and there is no indicator when you get it right, which we have in some competition load legs.
Ease of Installation - w/o the Base
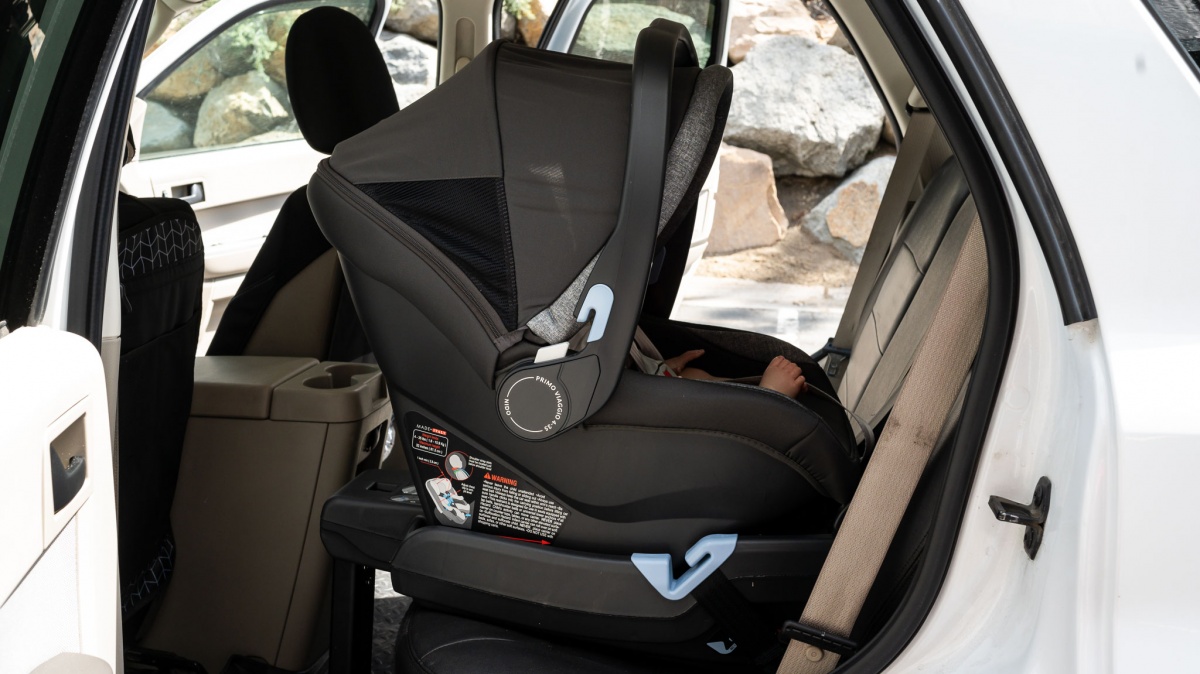
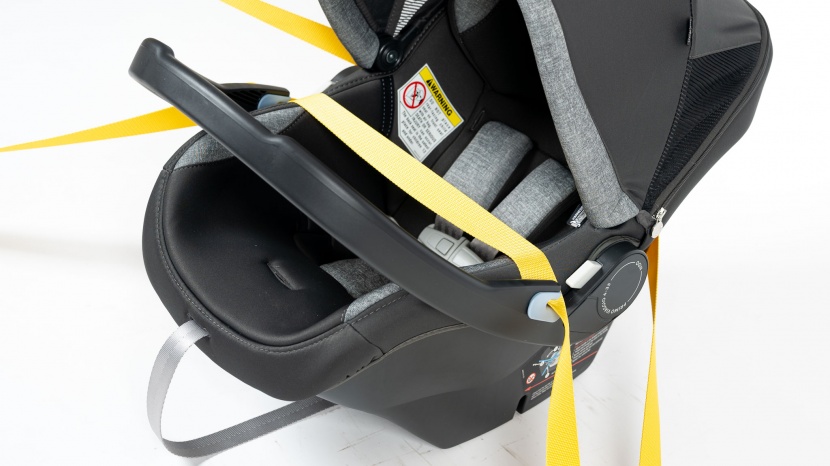
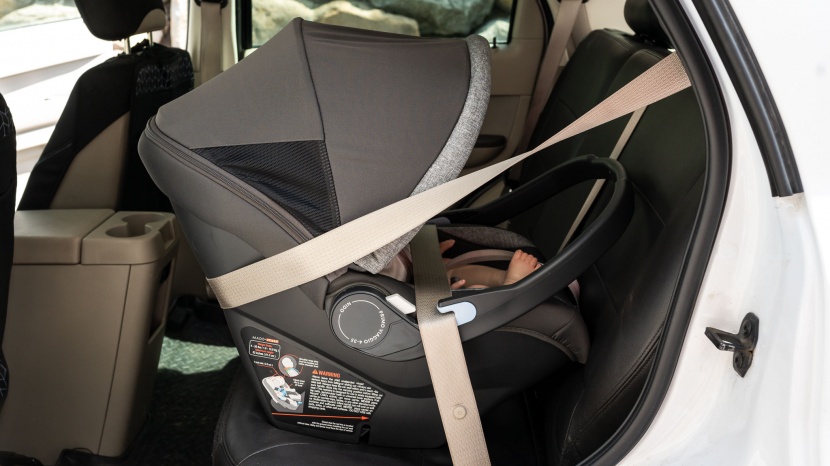
Installing the Nido without the base is the easiest method for this car seat. This is good for public transportation or frequent travel, but it's a bummer otherwise, given that the base has the anti-rebound bar, and the LATCH installation should be the easiest method. It uses the European belt path, and the slots are color-coded. The carrier has a decal with a level line for reference.
The carrier is wider than average, and you must bring the handle forward to access the belt pathway. This gives better access to the belt pathway, and the handle position is only allowed when installed without the base. The lap belt was easy to thread, but the shoulder portion was more of a struggle.
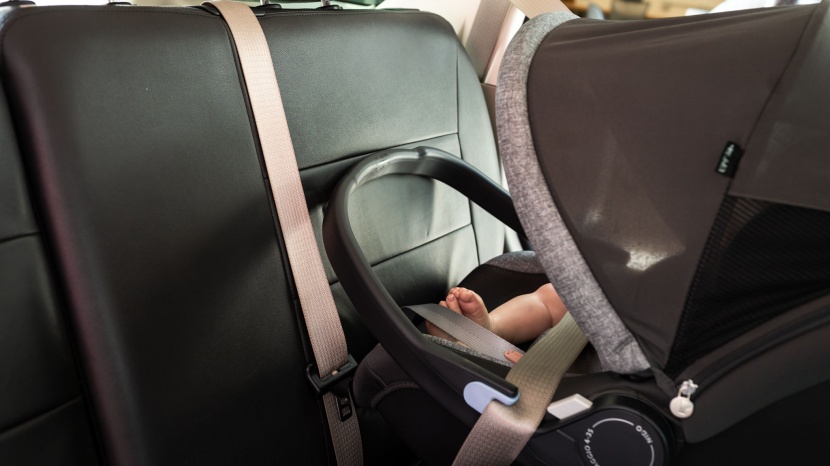
The vehicle belt in one car almost felt too short to wrap around, and it took some finagling to get it right. The shoulder strap needs to be guided into the slot on the back. Once both belt portions were placed correctly, it was easy enough to tighten. There wasn't much slack. The red level reference line was easy to see and use. The seat feels very wobbly.
Ease of Use
The Nido is harder to operate than most of the competition. While a few seats are harder to use, it is a disappointment, given the price.
Buckle
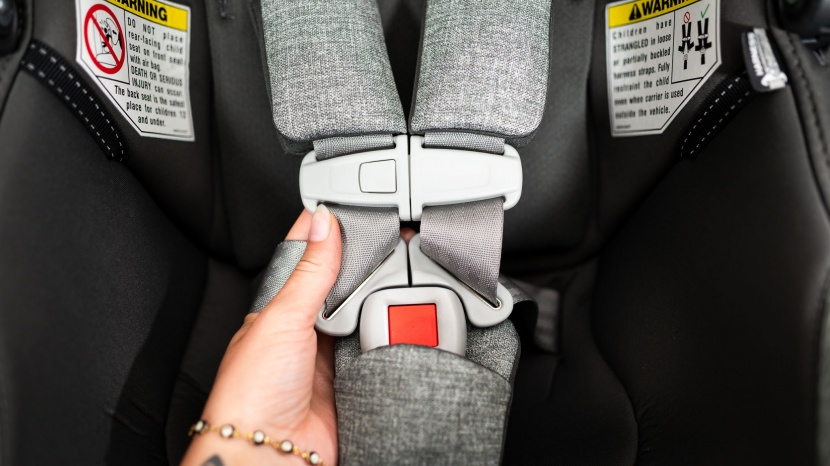
The main buckle is unbearably stiff, and our tester hurt her thumb enough that it felt tender later. The shoulder straps have retention webbing on the inside of the carrier that keeps them out of the way while you put the baby in the seat. The prongs slide down the webbing with no friction, which allows the side prongs to fall deep into the seat if you don't use the retainer.
The chest clip button is on the left instead of the center or right. This made our lefty tester happy, but could frustrate right-handers. The button is harder to press down to clear the mechanism that slides the two sides apart.
Harness Tightening/Loosening
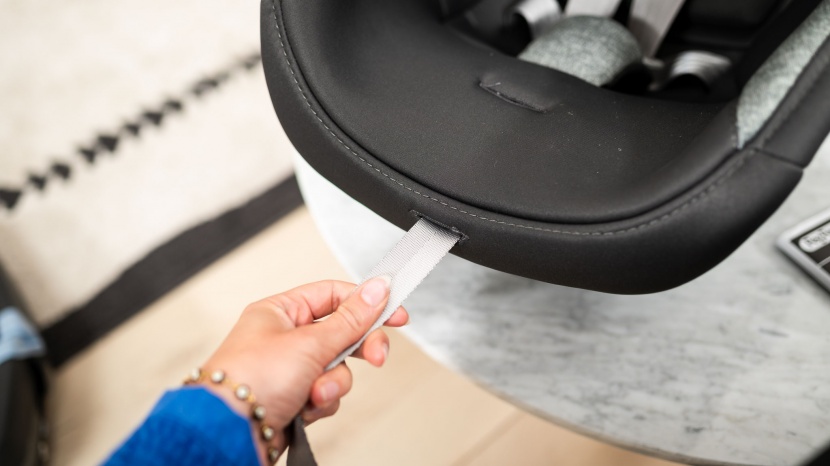
The harness is easy to tighten, and the shoulder straps move smoothly without problems related to the shoulder padding or otherwise. The tightening strap is on the carrier foot and has plenty of webbing. There is a slit in the fabric further up on the carrier, closer to the crotch strap, for the release button. The button is easy to press and works well.
Harness Adjustment
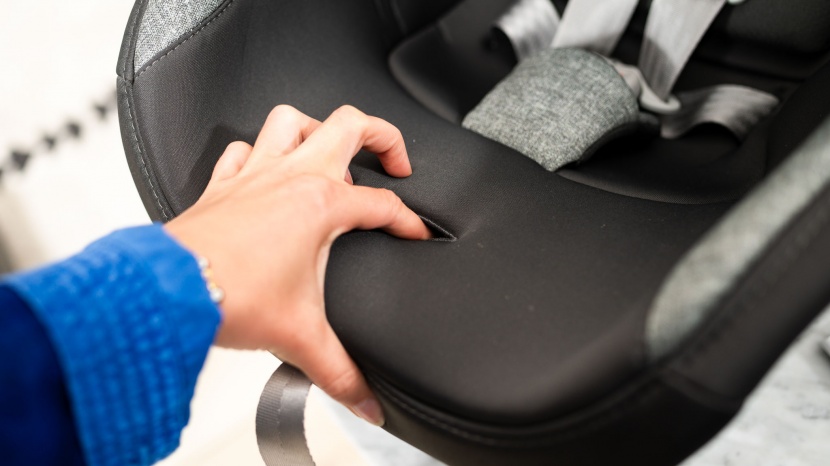
The harness shoulder height adjustment on the Nido is a non-rethread style that does not require the user to remove the straps from a splitter plate. This carrier has a pinch mechanism on the back behind an access panel, where you pinch and slide the assembly to the desired position. It moves smoothly and offers five positions. The crotch strap has two positions.
Carrier to Base Connection
Connecting the carrier to the base isn't too hard, but removing it is more challenging. You can tell it is connected when the back half slots go in place, and it is nice to have a visual reference point to go with the audible click.
Removing the seat requires grasping and squeezing the handle until you feel it disengage. It isn't ergonomic, and we experienced a pressure point on the palm while pressing down. The back of the canopy tends to slide down and get in the way of the release handle. It isn't an impossible task, but more arduous than most.
Handle
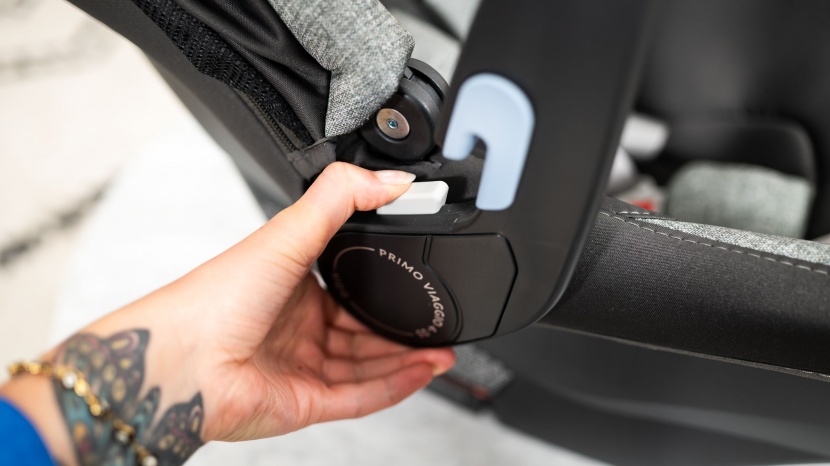
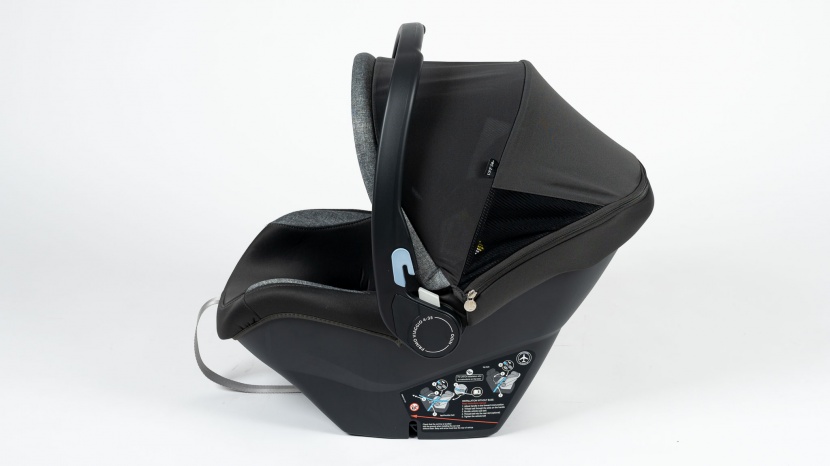
The handle has dual-press joint release buttons on either side. It moves freely and only slightly interferes with the canopy during movement, but not in the upright position. The handle has five possible positions, with Position C (even with the top of the carrier) allowed when installing with the base, and Position A (all the way forward) allowed for installation without the base. Please read the manufacturer's directions for details.
Canopy
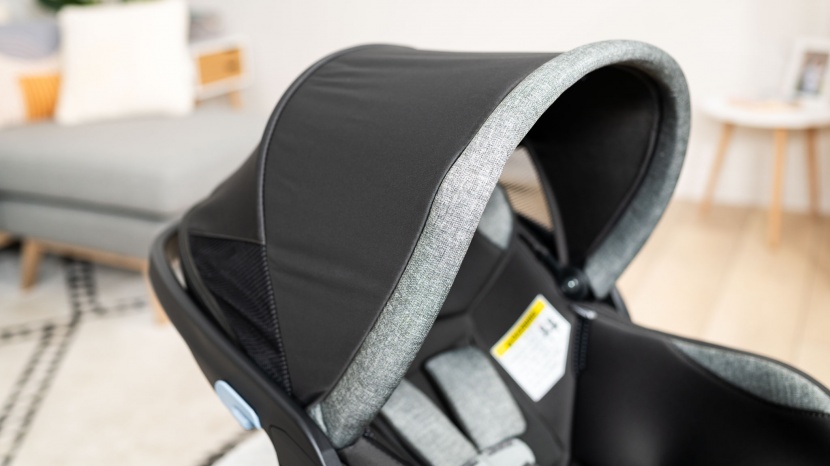
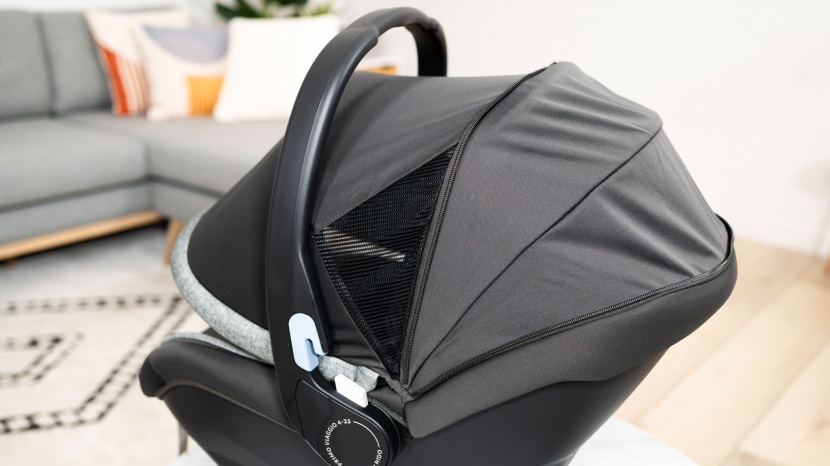
The Nido has a better-than-average canopy with a zip-out extension. It looks good and avoids the frumpy, one-side more taut than the other-side problem we often see. While the canopy is low enough under the handle to avoid rubbing when both are fully upright/open, it struggles in other positions to get past the handle.
LATCH and Manual Storage
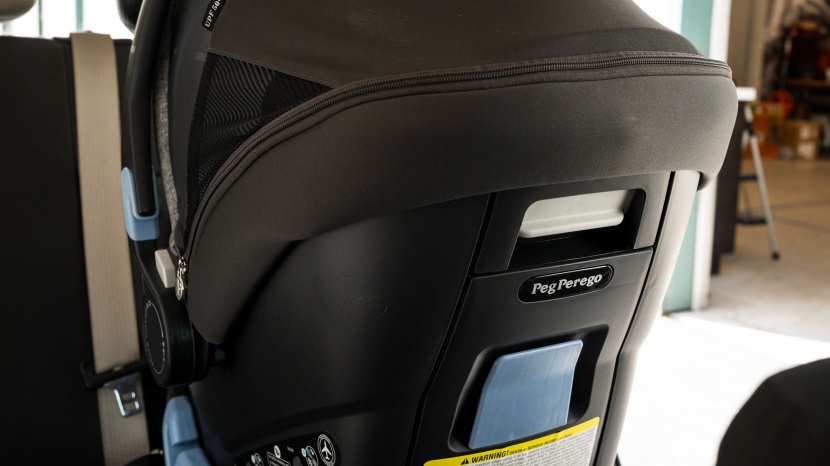
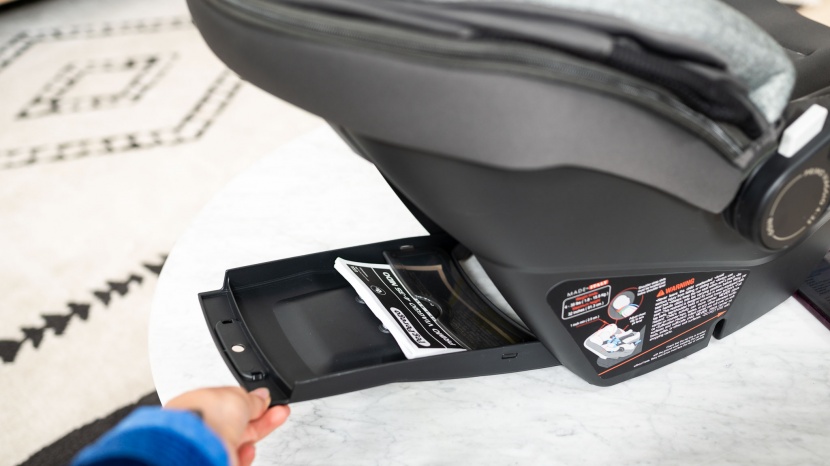
The manual fits in a storage compartment on the back of the carrier. This location is convenient, allowing you to take it when you travel without the base, and offers easy access after installation and away from potential messes. Well done, Nido. Well done.
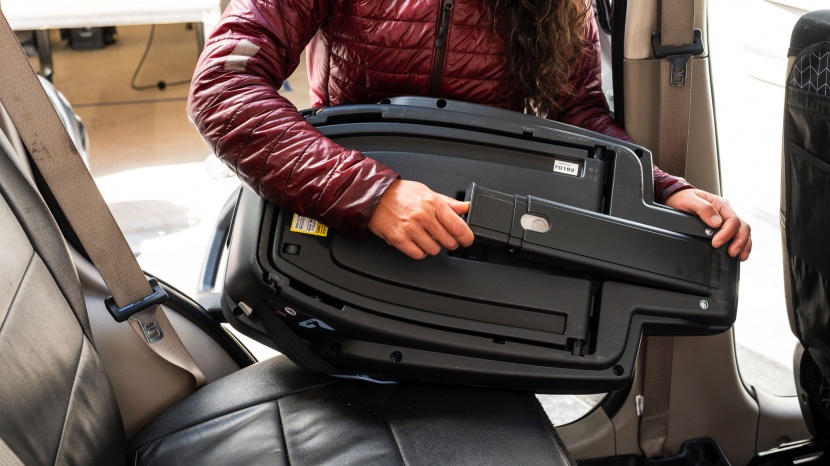
The back of the base has a compartment for the LATCH connectors. The door to the compartment is flimsy and didn't stay in place during testing, which was a pain to replace. Luckily, most families will install the base and forget it.
Comfort/Quality
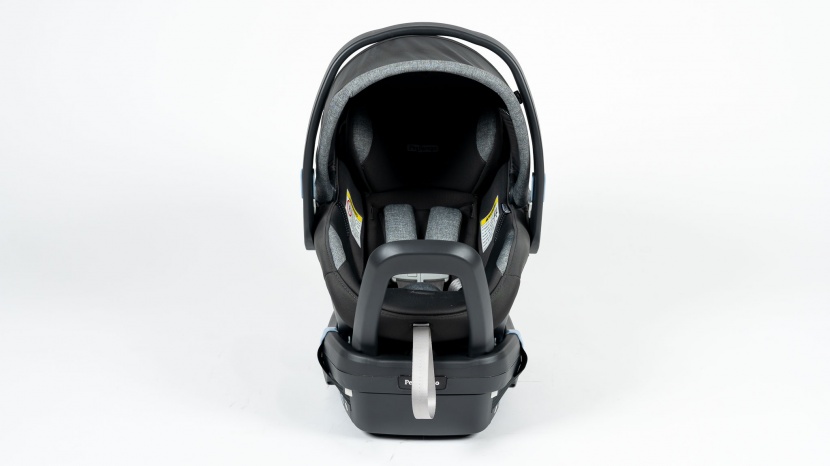
Comfort and quality are where we'd expect a Peg Perego to shine. However, compared to the group, the Nido failed to impress and struggled to keep up.
Fabric and Padding
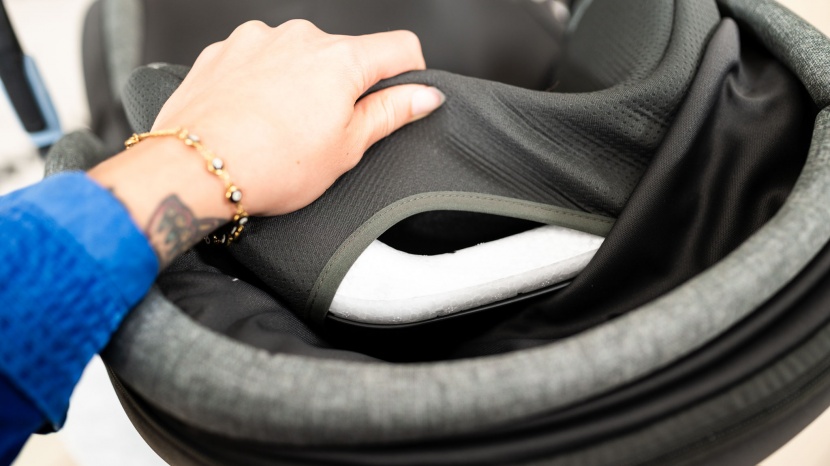
The fabric on the Nido feels breathable but is rougher than most when we rub it on our cheeks. The head portion and the infant insert are the roughest, which is a bummer, given the rest of the fabric is more skin-friendly.
The seat has a dual-stage padding system with an infant insert for additional support for tiny bodies. Stage one is more adjustable for newborns, with customizable crotch padding. The main seat padding is only okay, and we wish it were as nice as the insert. The Nido has soft padding for the shoulder and crotch straps.
Handle and Canopy
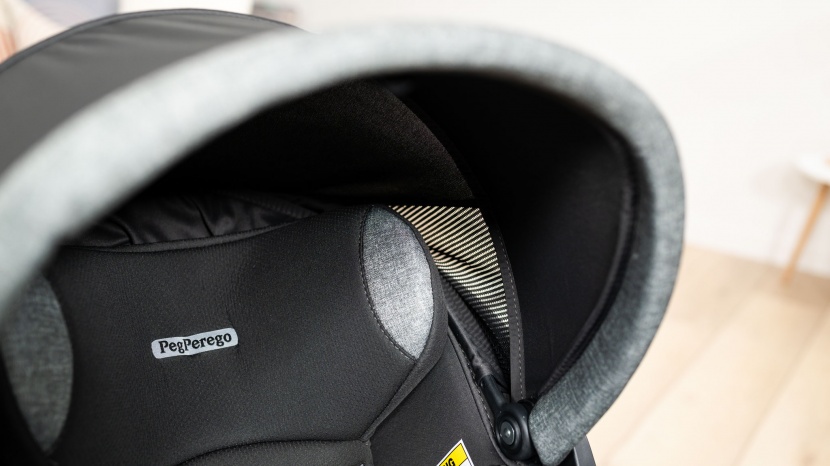
The handle is pretty basic and has a flat design that is not ergonomic for grabbing or holding. It gets narrower at the handle. The canopy is larger than average, with the potential for greater coverage if you unzip it. The fabric is thinner than most, but the canopy stays in the three planned positions. It has sun protection of UPF 50+. There are side vents for airflow, and some light still gets past the main canopy.
Shell
The outer shell is smooth, with no nooks for gunk to hide. If you install it directly on your vehicle seat, there are no sharp edges that could damage your car.
Weight/Size
The Nido weighs 10.6 lbs, which is about average. While some seats are as heavy as 17+ lbs, others are lighter than 8 lbs. If you plan to carry your little one in their car seat, this is something you might want to pay attention to.
Should You Buy the Peg Perego Primo Viaggio 4-35 Nido?
The Nido earned a lower score overall than much of the competition, and while we loved the better crash test results, it isn't enough to make up for the harder-to-use features and the trouble we had during installation. Overall, it is somewhat expensive for something that struggled to keep up in most performance metrics. While the Nido is our Peg seat of choice, we think there are better options with lower prices in this review and recommend considering other possible seats with good crash test analysis results.
What Other Infant Car Seats Should You Consider?
The Britax Willow S is a standout seat with good crash test results, a lower price, and higher performance in most metrics. If budget isn't a concern, and you want the highest crash test results or the highest scoring seat, then the Nuna Pipa RX is one for your shortlist. It has load-leg and rigid LATCH connectors that are easy to install. While it costs more, we think it is worth the price given what it offers. Want better crash test analysis and an easy installation? The Romer Juni has an economical price and one of the best crash test results we've seen.
Manufacturer Video
| Awards | |
|---|---|
| Price | $350 List Check Price at Amazon |
Overall Score  |
|
| Star Rating | |
| Bottom Line | Better scores in crash tests with lots of comfort padding, but the headrest fabric and LATCH are a disappointment for the price |
| Pros | Better crash test results, lots of padding, canopy/handle perfection, easy belt threading |
| Cons | Harder to install LATCH, difficult buckle, itchy fabric headrest/insert |
| Rating Categories | Peg Perego Primo Via... |
| Crash Test (40%) | |
| Ease of Install - LATCH (20%) | |
| Ease of Install - Belt (10%) | |
| Ease of Install - w/o Base (5%) | |
| Ease of Use (15%) | |
| Comfort/Quality (5%) | |
| Weight/Size (5%) | |
| Specifications | Peg Perego Primo Via... |
| Minimum Weight | 4 lbs |
| Maximum Weight | 35 lbs |
| Maximum Height | 32 in |
| Measured Carrier-Only Weight | 10.6 lb |
| Built in Lock Off | Yes |
| Method To Adjust Harness Shoulder Height | Non-rethread |
| Belt Routing Style | European |
| Anti-rebound Bar | Yes |
| Load Leg | Yes |
| Shoulder Harness Positions | 5 |
| Crotch Strap Positions | 1 |
| Number of Recline Positions | Infinite |
| Locking Handle Positions | 5 |
| Allowed Handle Positions For Auto Travel | Position C for base Install (even with the top of the seat), Position A for Seat Only Install (all the way forward) |
| Level Indicator On Base | Bubble, in middle |
| Level Indicator On Seat | Line on Decal |
| Aircraft Certified | Yes |


